One of the many perks of working at Dropbox is getting to participate in Hackweek, a weeklong hackathon for everyone in the company. In the past I’ve worked on an AI project to predict user file accesses (fun but unsuccessful), a Python type analyzer and then a Python compiler built on top of the type analyzer (will be open sourced at some point), and a service-management service (in limited use inside Dropbox). I wasn’t sure what I was going to do for this one, but last week I happened to be looking into 3D printers, bought one on a whim (yes, they are cheap enough now to do that), and it arrived on Monday the start of Hackweek, so of course I had to do something with it.
Low-cost 3D Printers
There are a tremendous number of low-cost 3D printers these days; I don’t remember how I started looking into them, but I think I was reading some article about how much the prices have dropped, was intrigued, and started doing some research. This page is a good overview of the lowest-cost printers out there; one option that I had to quickly rule out is any printer that required me to print parts for it. This sounds like one possible way to obtain a second 3D printer, but it seems like it would only add to the difficulty of getting a 3D printer to work, plus there are some obvious bootstrapping issues. So I decided to only look into complete kits or products, which thankfully are quite well-represented even at this low of the spectrum. One option that caught my eye was the Makibox A6, which retails for $200, easily in the “for the hell of it” category. I managed to talk myself through the fact that the product is unreleased and it’s from a new company, but what finally turned me off was that shipping is $36 for 6-8 week (!!) delivery, or $100 (!!) for 7-10 day shipping (this is from Hong Kong). The prospect of $100 of shipping charges seriously bit into the allure of a $200 printer, so I kept on looking.
There’s another similar product called Pirate 3D Buccaneer which seems appealing as well, but seems to suffer from some of the same issues as the Makibox, primarily that it’s not released yet and it’s a new company. I decided to pass on this one too.
Then I looked into the $300 Printrbot Simple. This particular model is quite recent and doesn’t have that many reviews, but it’s by a company that has released several other models in the past with what seem like generally-positive feedback. The product page made no mention of any waiting for it to be available, so I went ahead and bought it along with some extra filament, for a total of $350. Based on the other options at this price-point, I expected this to be another Chinese company with long turnaround and shipping times, but to my surprise they’re actually US-based, shipped my printer out the same week, and I received it exactly one week later.
Assembling the Printr
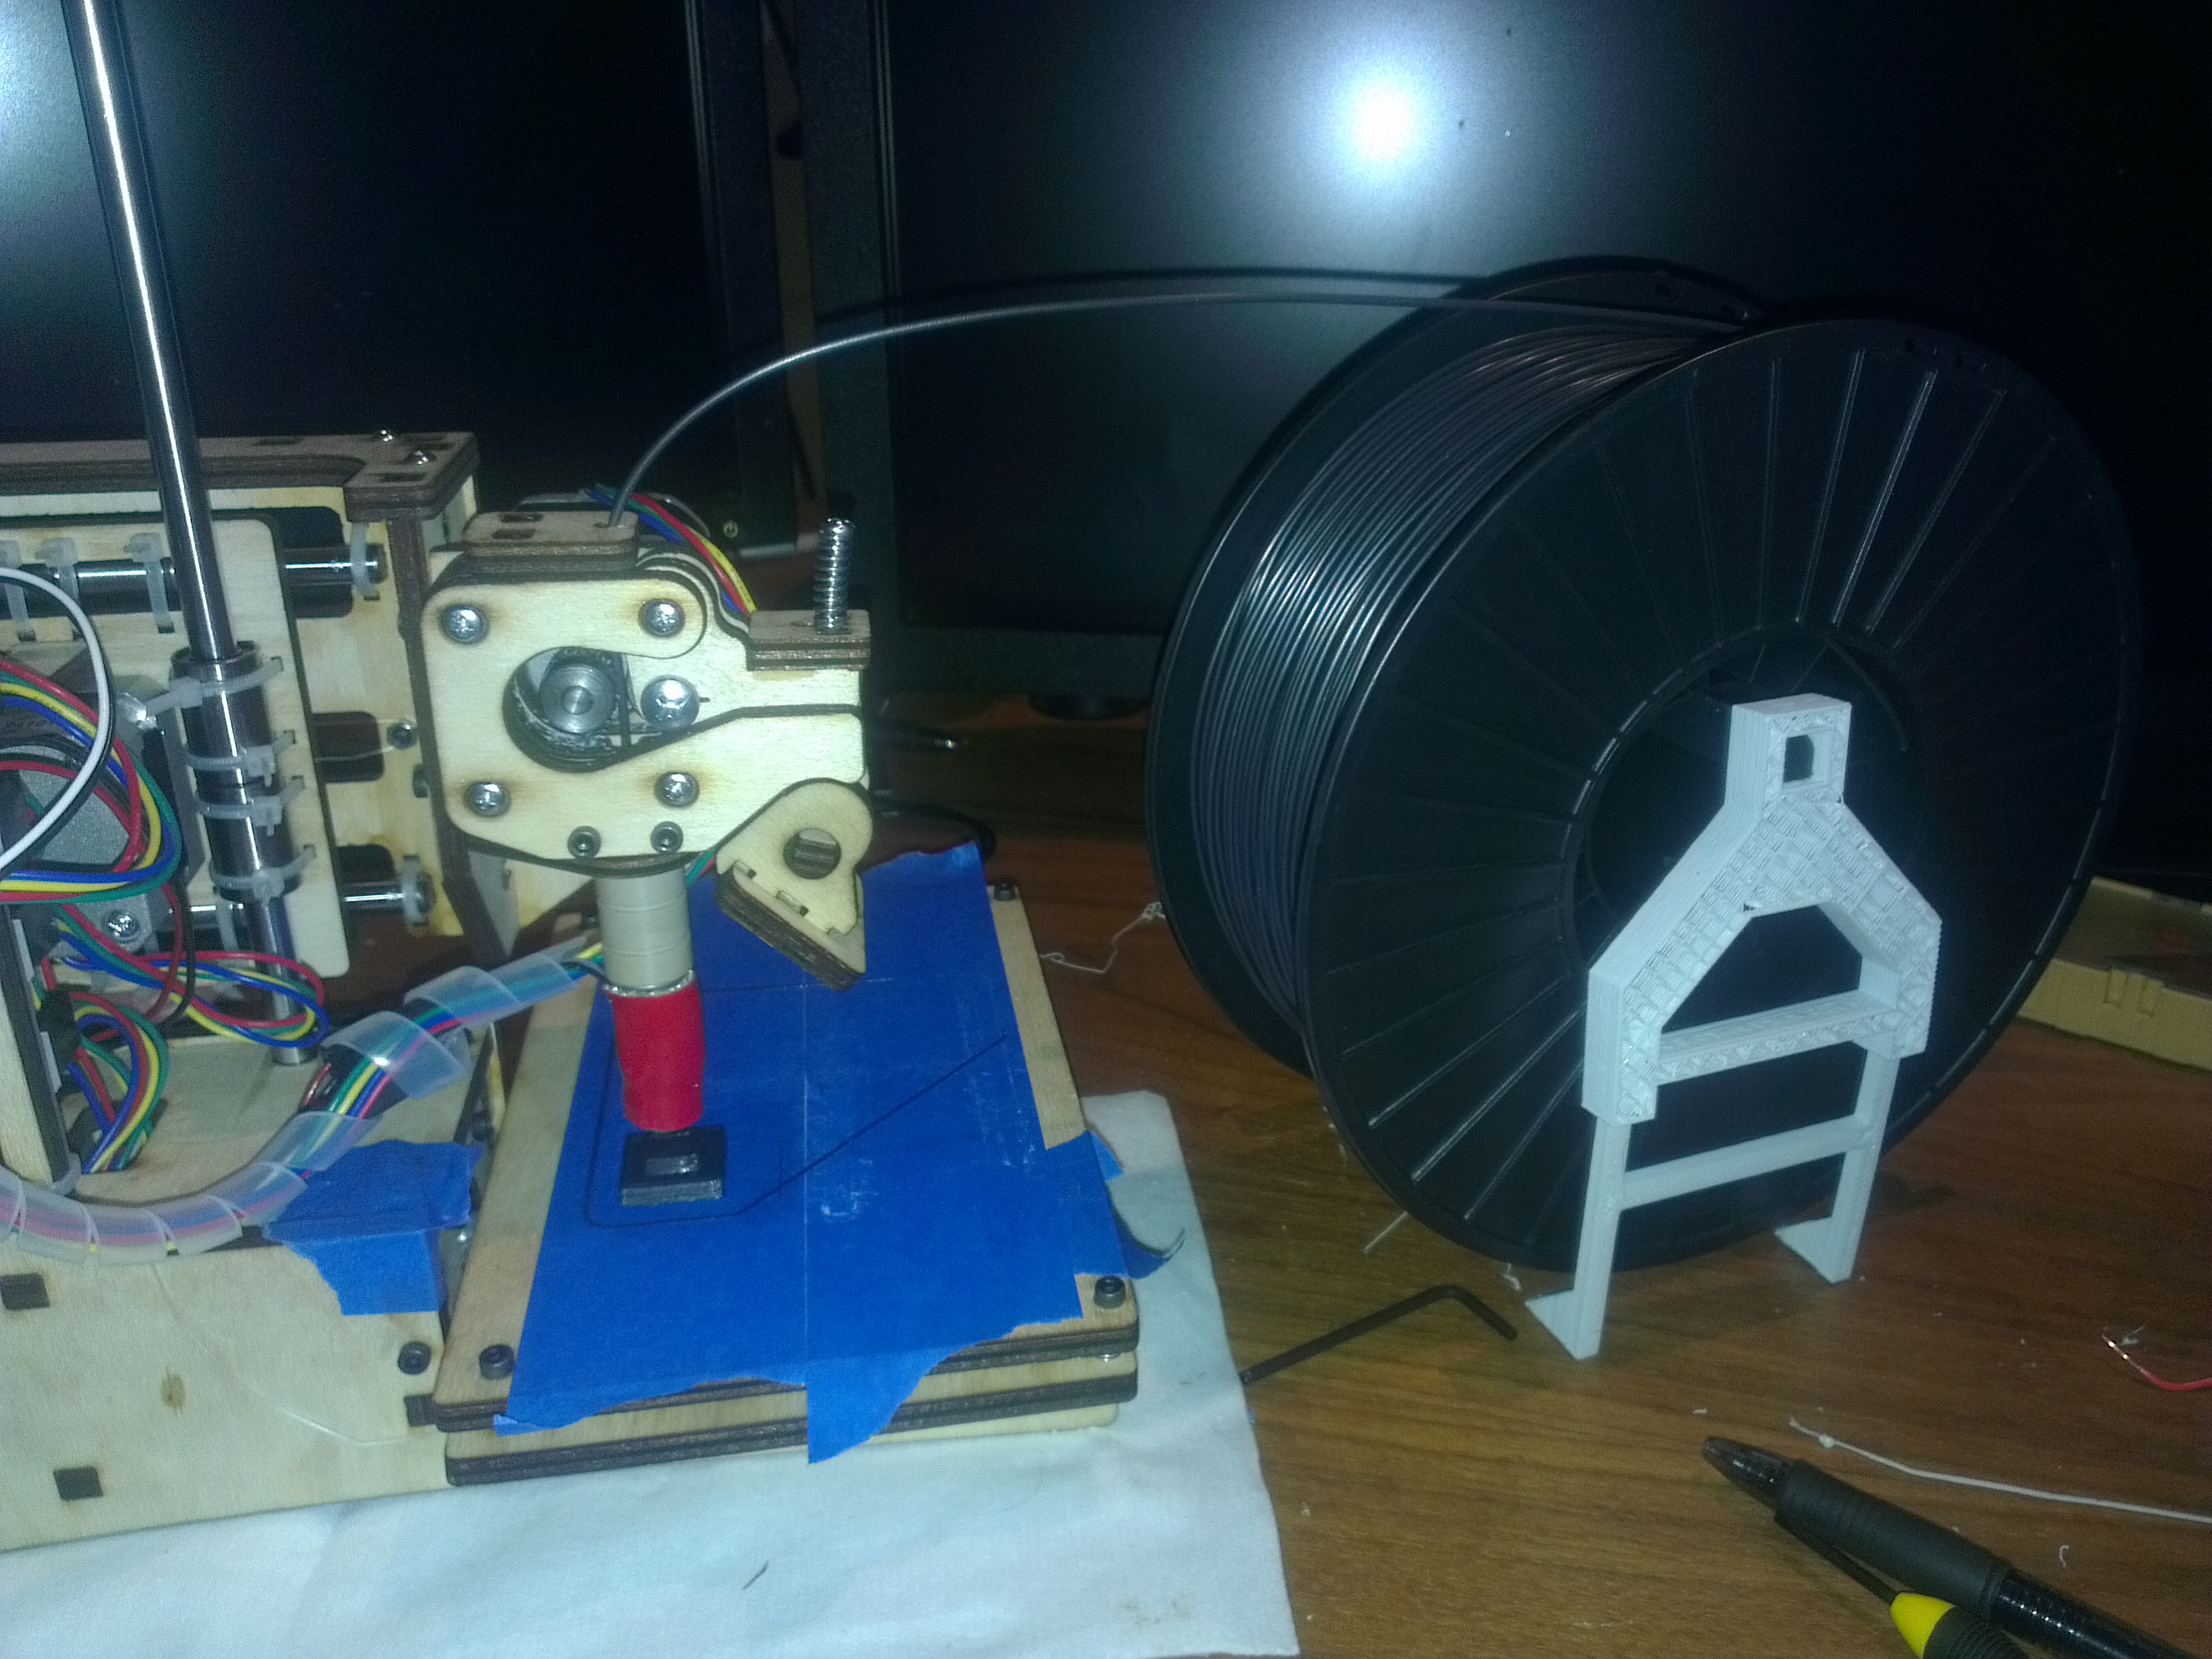
Here’s a picture of the half-assembled printer — for some reason, I never take a picture at the beginning of a project, only once it’s already in progress — with about half the parts on the desk, the other half still in the box:
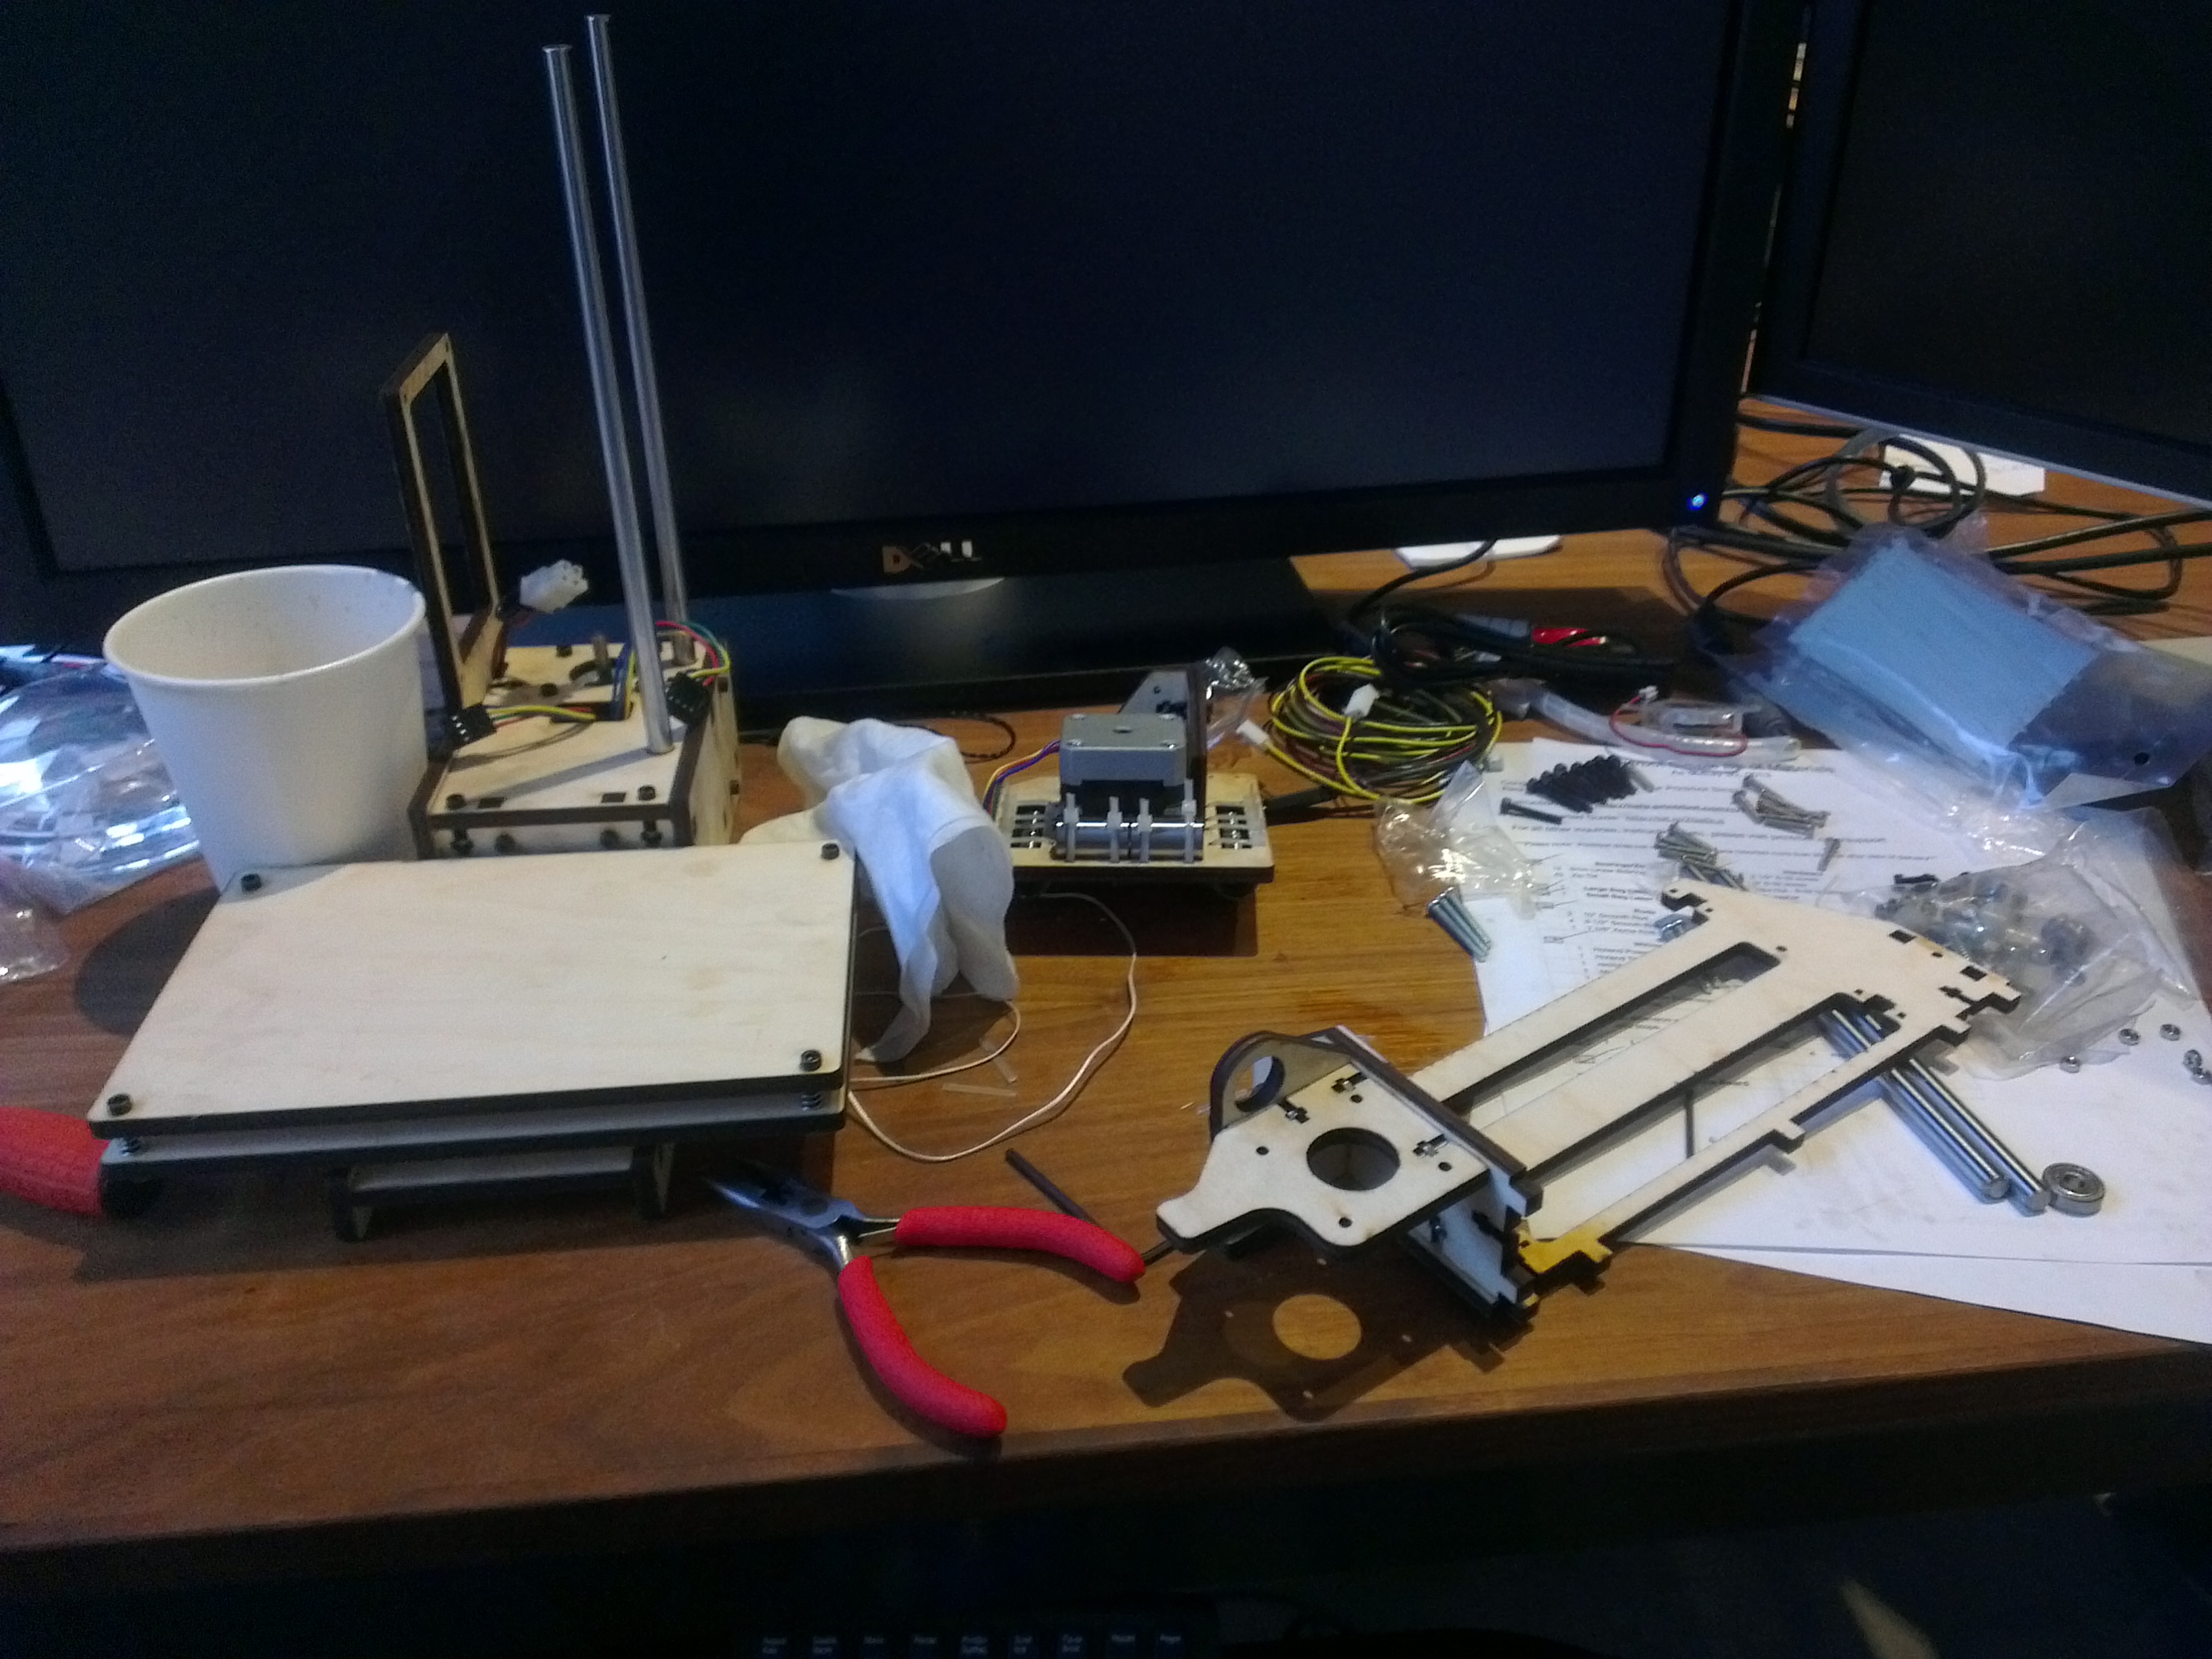
This was definitely the most difficult thing that I’ve ever assembled, but thankfully the instructions were pretty good, and overall the whole thing made a lot of sense, but just required a lot of work to put together. You can definitely see what the difference is in buying a $300 printer vs a more expensive one: one of the primary construction tools here is the zip tie, and I’m talking about in a structural context! In the middle of the above photo, you can see how the linear bearings are held to the square board via zipties; at first I was turned off by this, but it actually works quite well. Overall I’d say I’m pretty impressed by the quality of the components, and the resulting printer definitely feels a lot sturdier than I thought it would. The only thing that was pretty annoying is that they shipped me the wrong set of screws; Printrbot was very nice when I mentioned this to them and shipped me the ones I’m missing, but I wanted to get this thing assembled so I ran out to a hardware store and bought the missing screws. They were pretty cheap, but I ended up taking a taxi to the store and this added to the effective printer cost; I took this as a call to stock some standard screw sizes myself.
I’m not going to go into build instructions since the Printrbot site does quite a good job with them, but the one thing I’ll mention is that if you’re thinking of getting a Printrbot Simple (which I would recommend after my experiences with them), one thing you should keep in mind is that the two upgrades they ship you (fan upgrade and endstop upgrade) are best installed while assembling the printer, since they replace existing components and require access that you won’t have once the Printrbot is assembled.
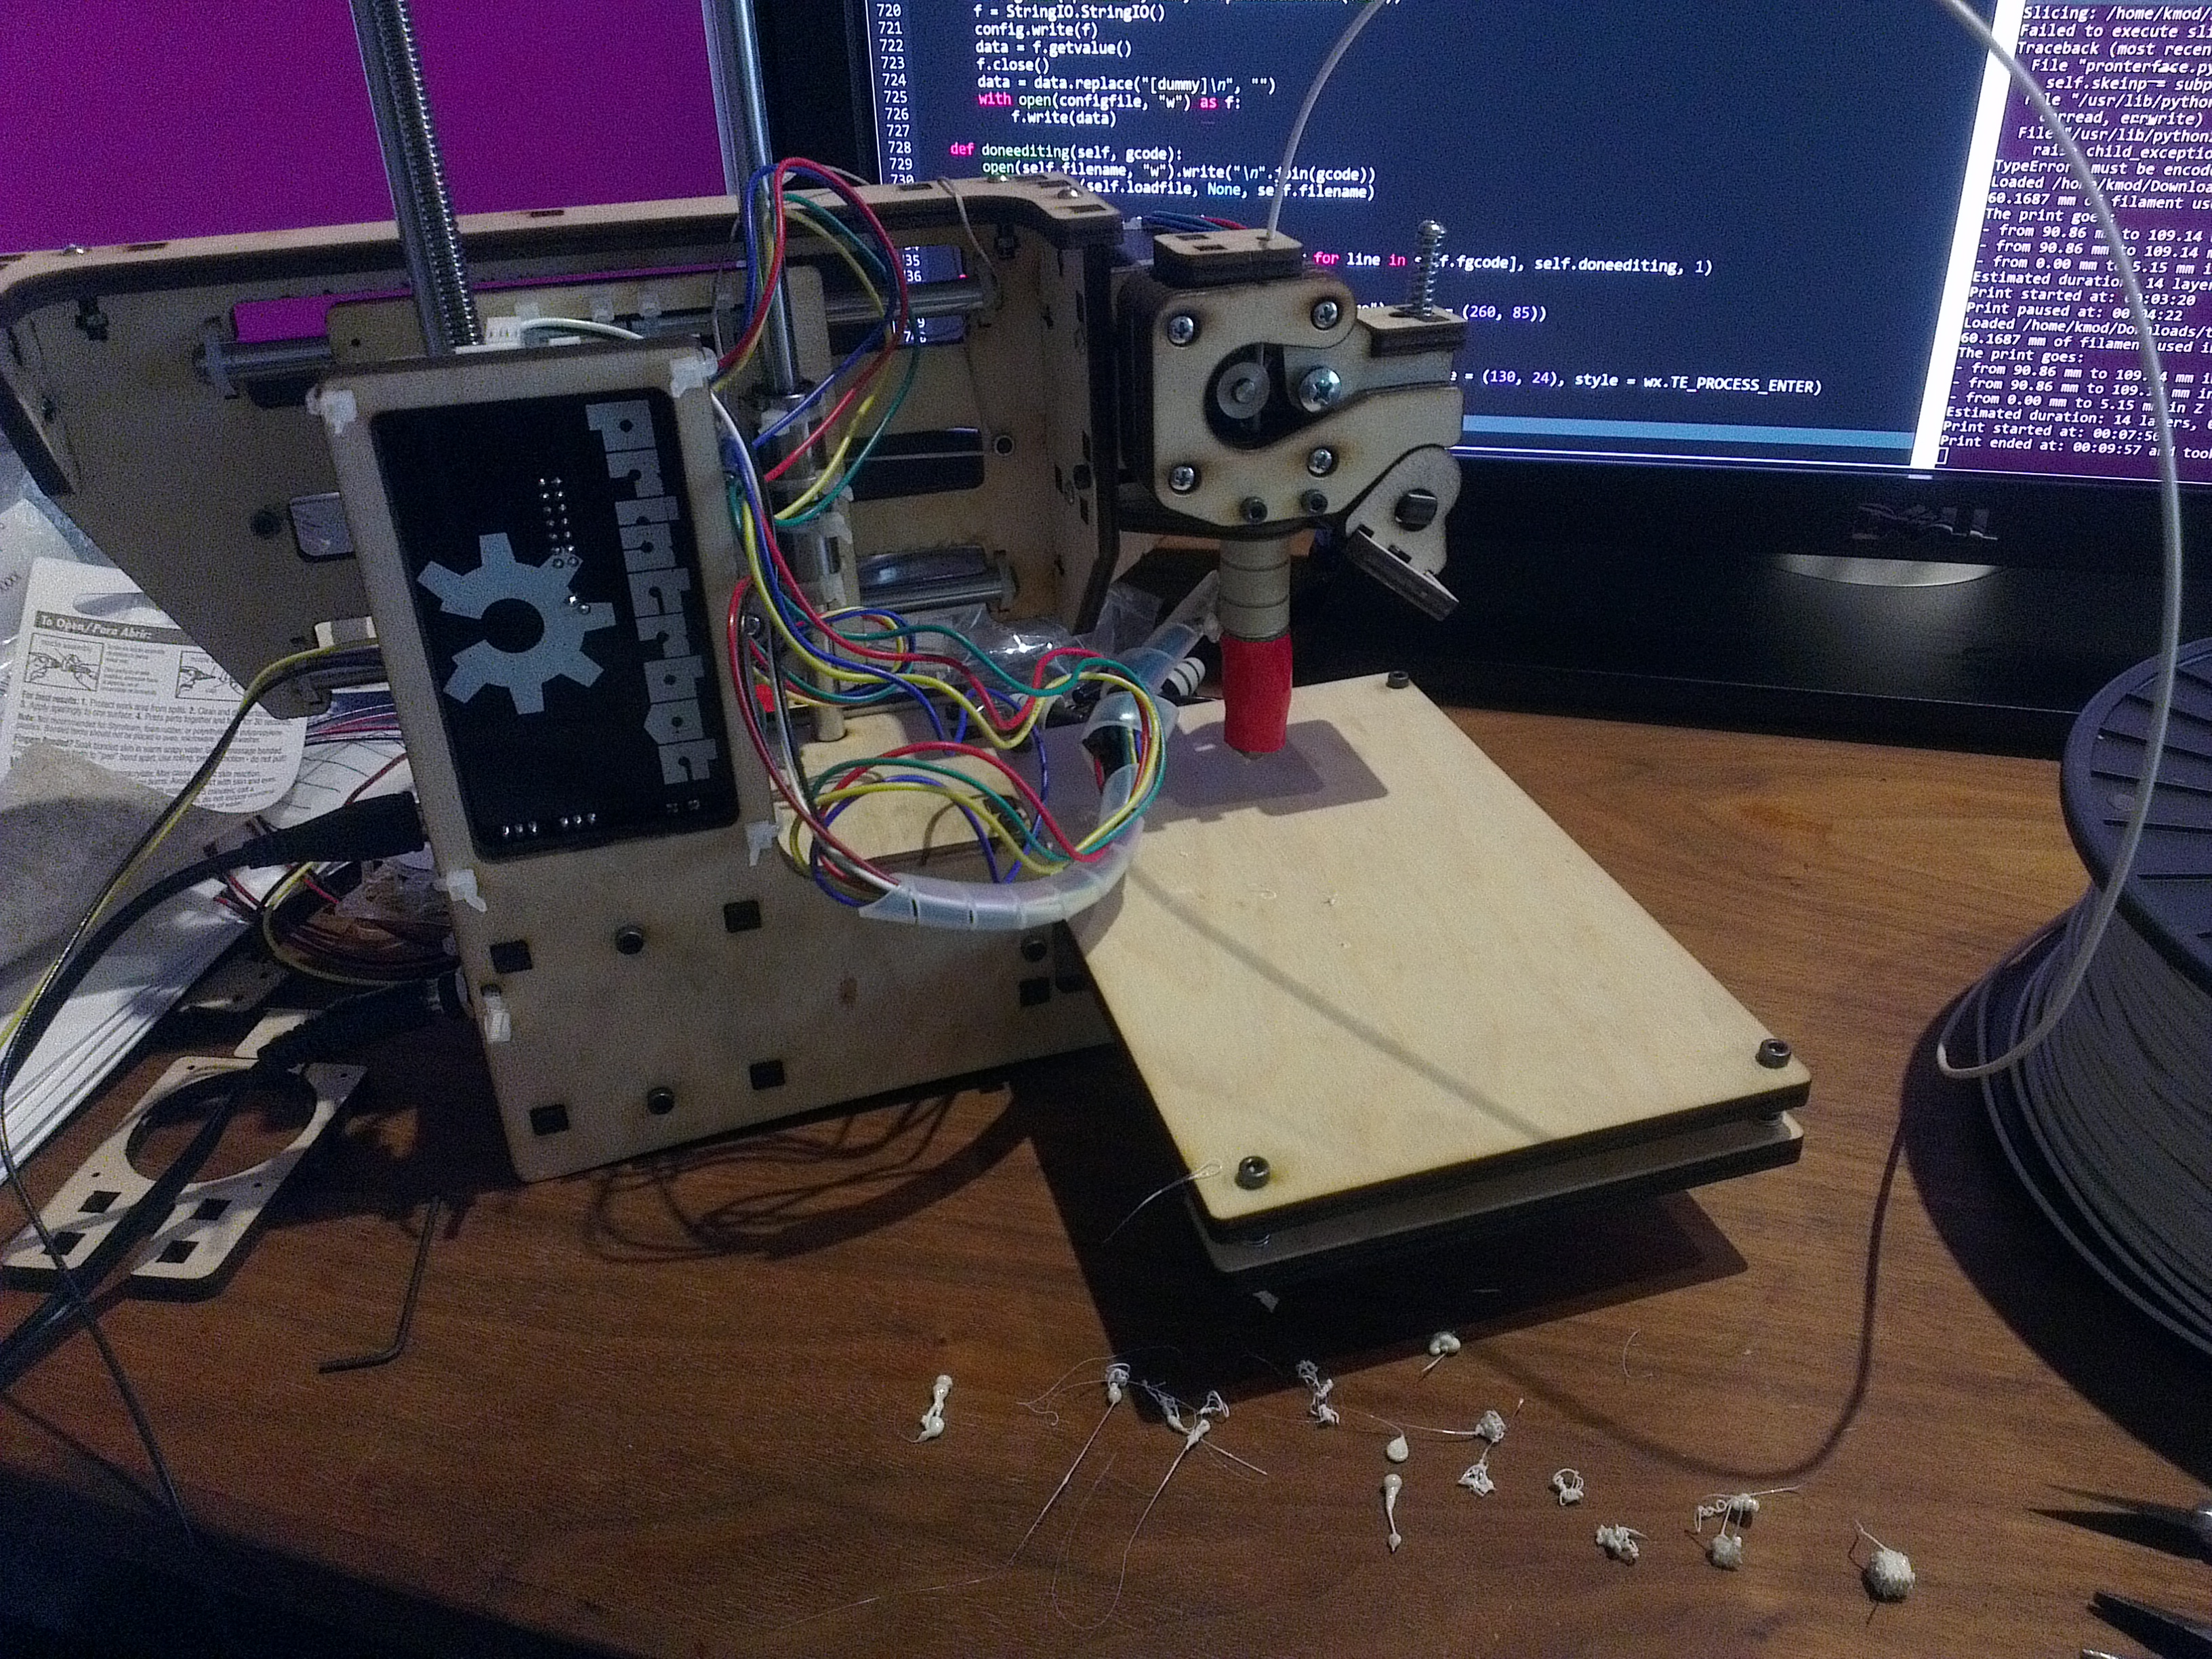
Here’s a pic of the finished printer:
All told, it was maybe about 6-8 hours from starting on the assembly to finishing it, though this included things like dinner and going to the hardware store.
Calibration
There’s a lot already written on this subject, so I’m not going to write too much about it. Suffice it to say, though, that calibrating the Printrbot Simple is not just important, it’s necessary to get prints of any quality. In the above pic you can see the results of my early “prints”, which are supposed to be cubes but are mostly just blobs. Here’s a close-up:
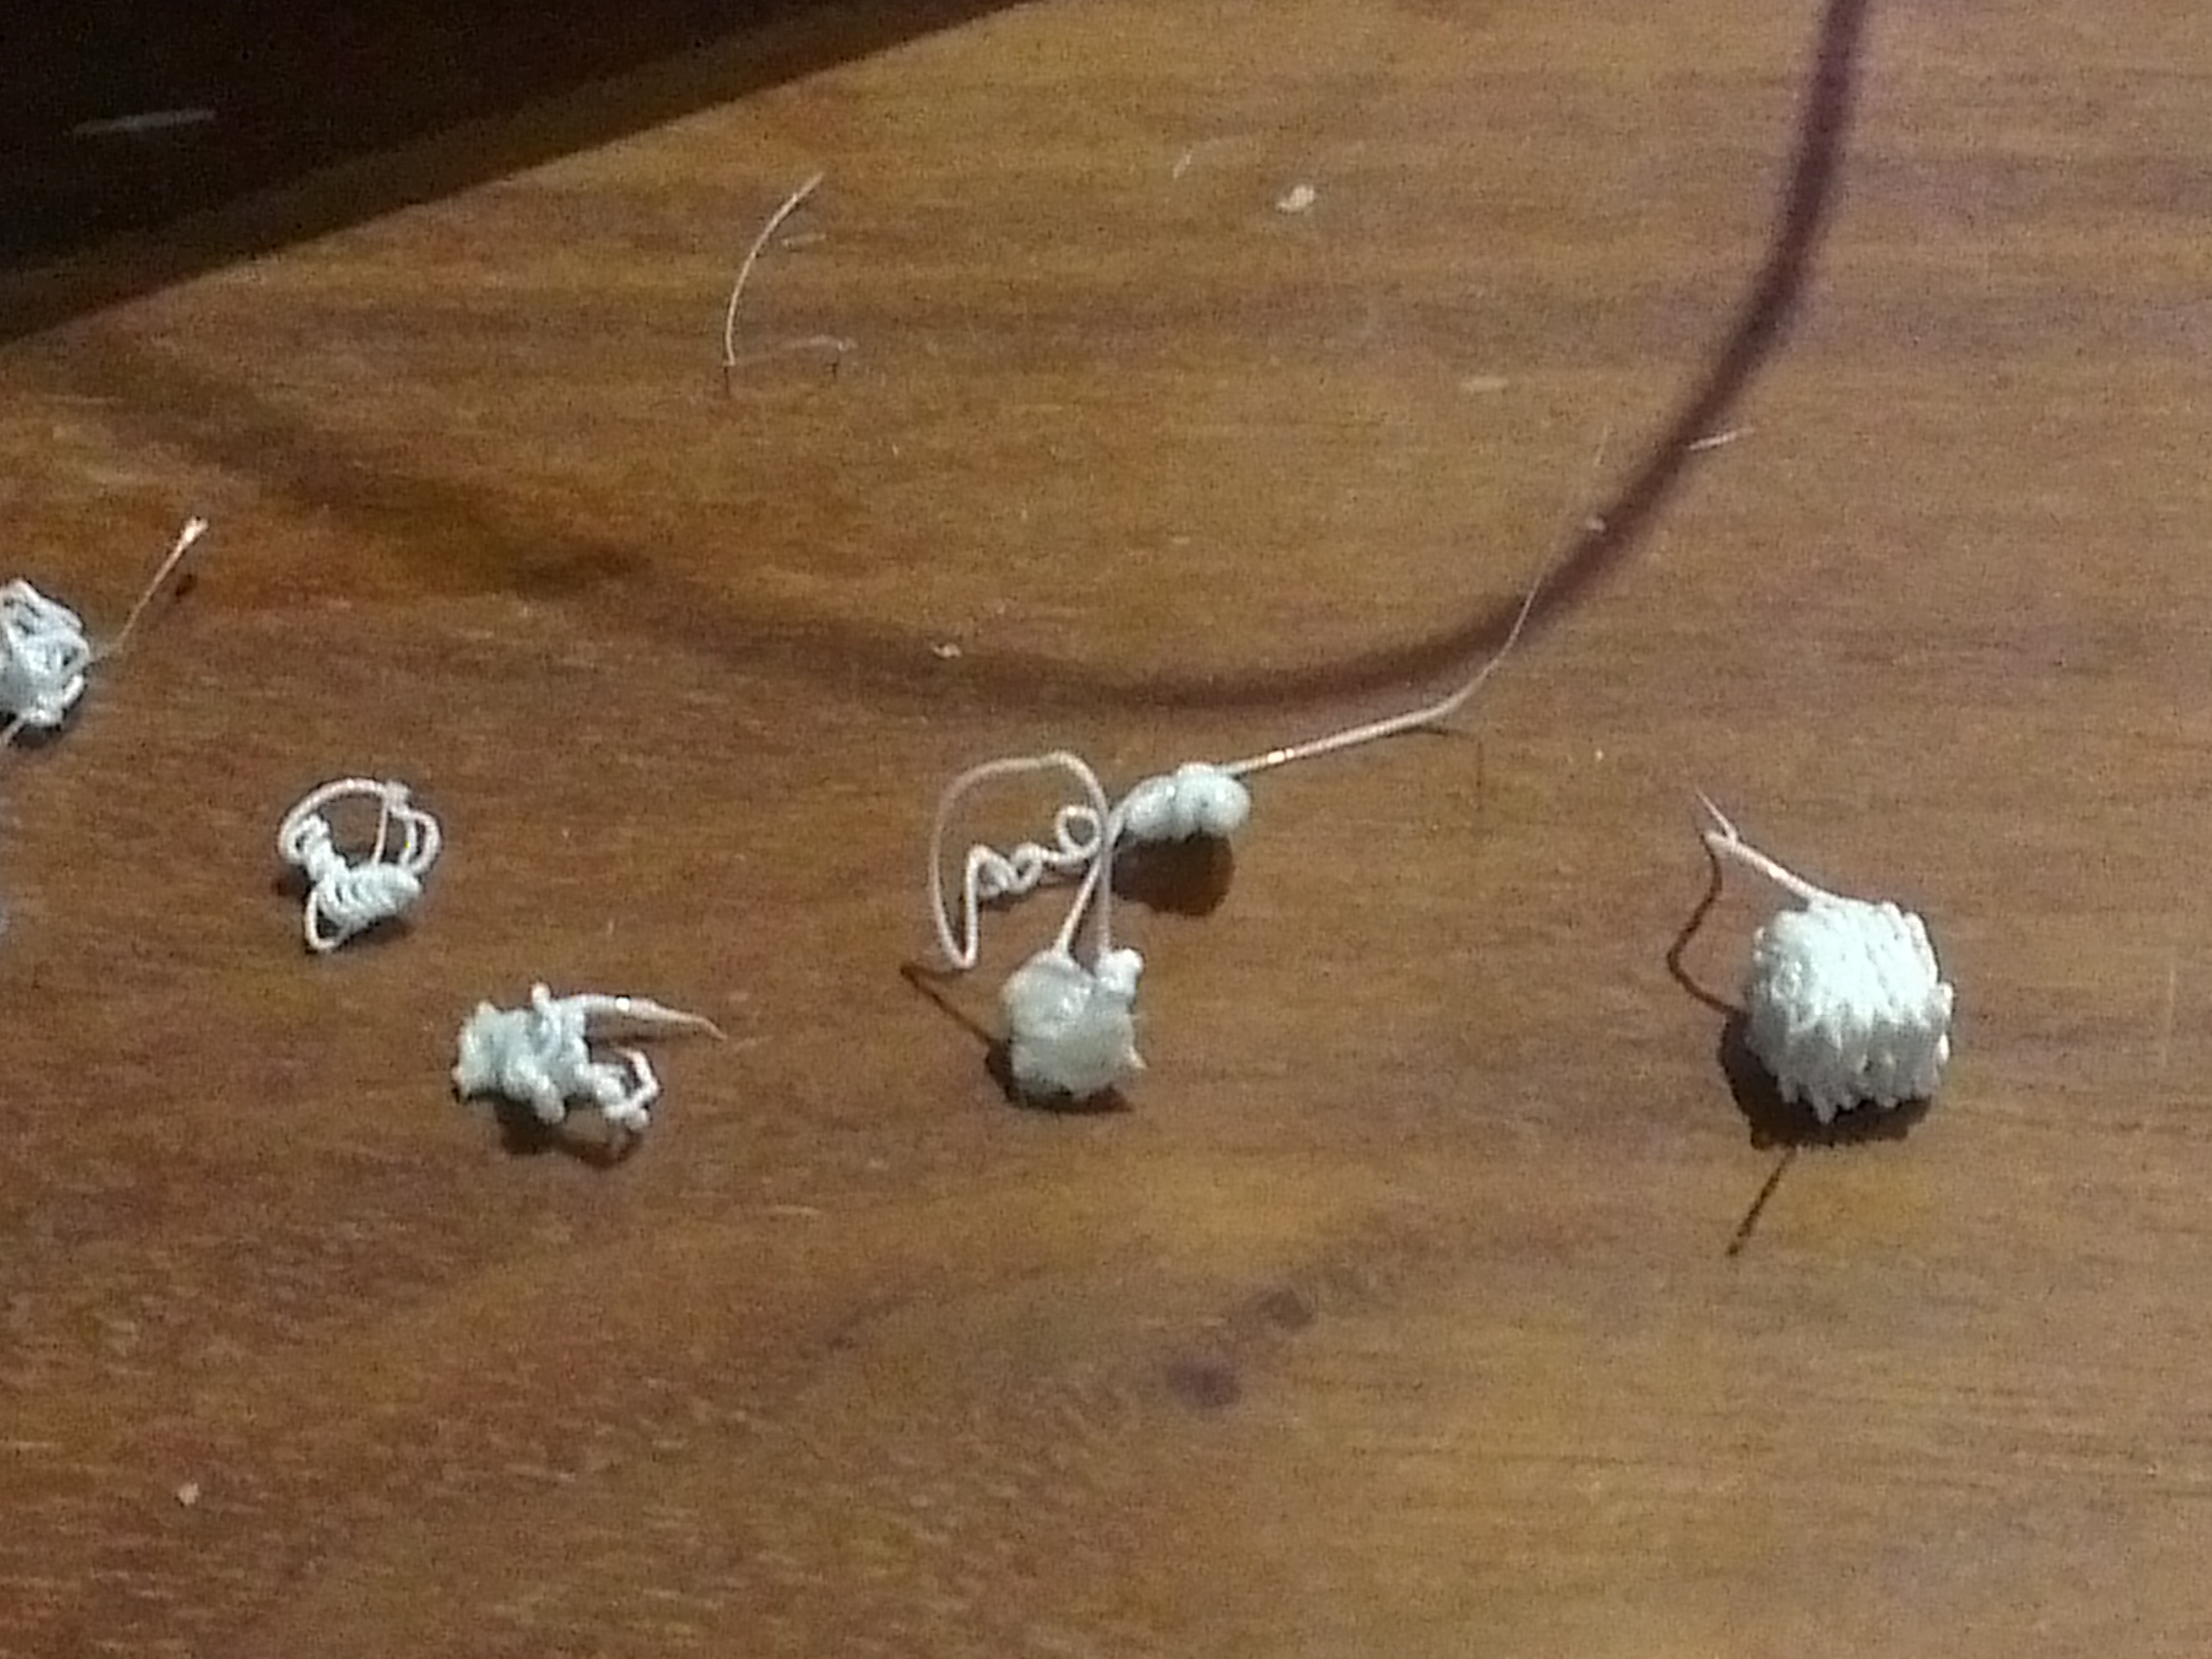
I forget exactly what I had to do, but I’d say the most important things are to level the printbed, make sure you have your z-endstop installed and working (I originally didn’t install it since I didn’t have the screws to, but I was forced to jury-rig something to get the printer working), and calibrate the extrusion amount. ie the printing program will assume that when it says to extrude 1mm of 1.75mm filament, you’ll get exactly 1mm*pi*(1.75mm)^2 filament out. My printer actually spooled out closer to 1.05mm of filament, so I had to adjust the extrusion multiplier to 0.95 to not have shapeless blobs at the end. I did this in my slic3r settings, but it would have been better to update the printer’s firmware settings, though I didn’t know how to do that at the time.
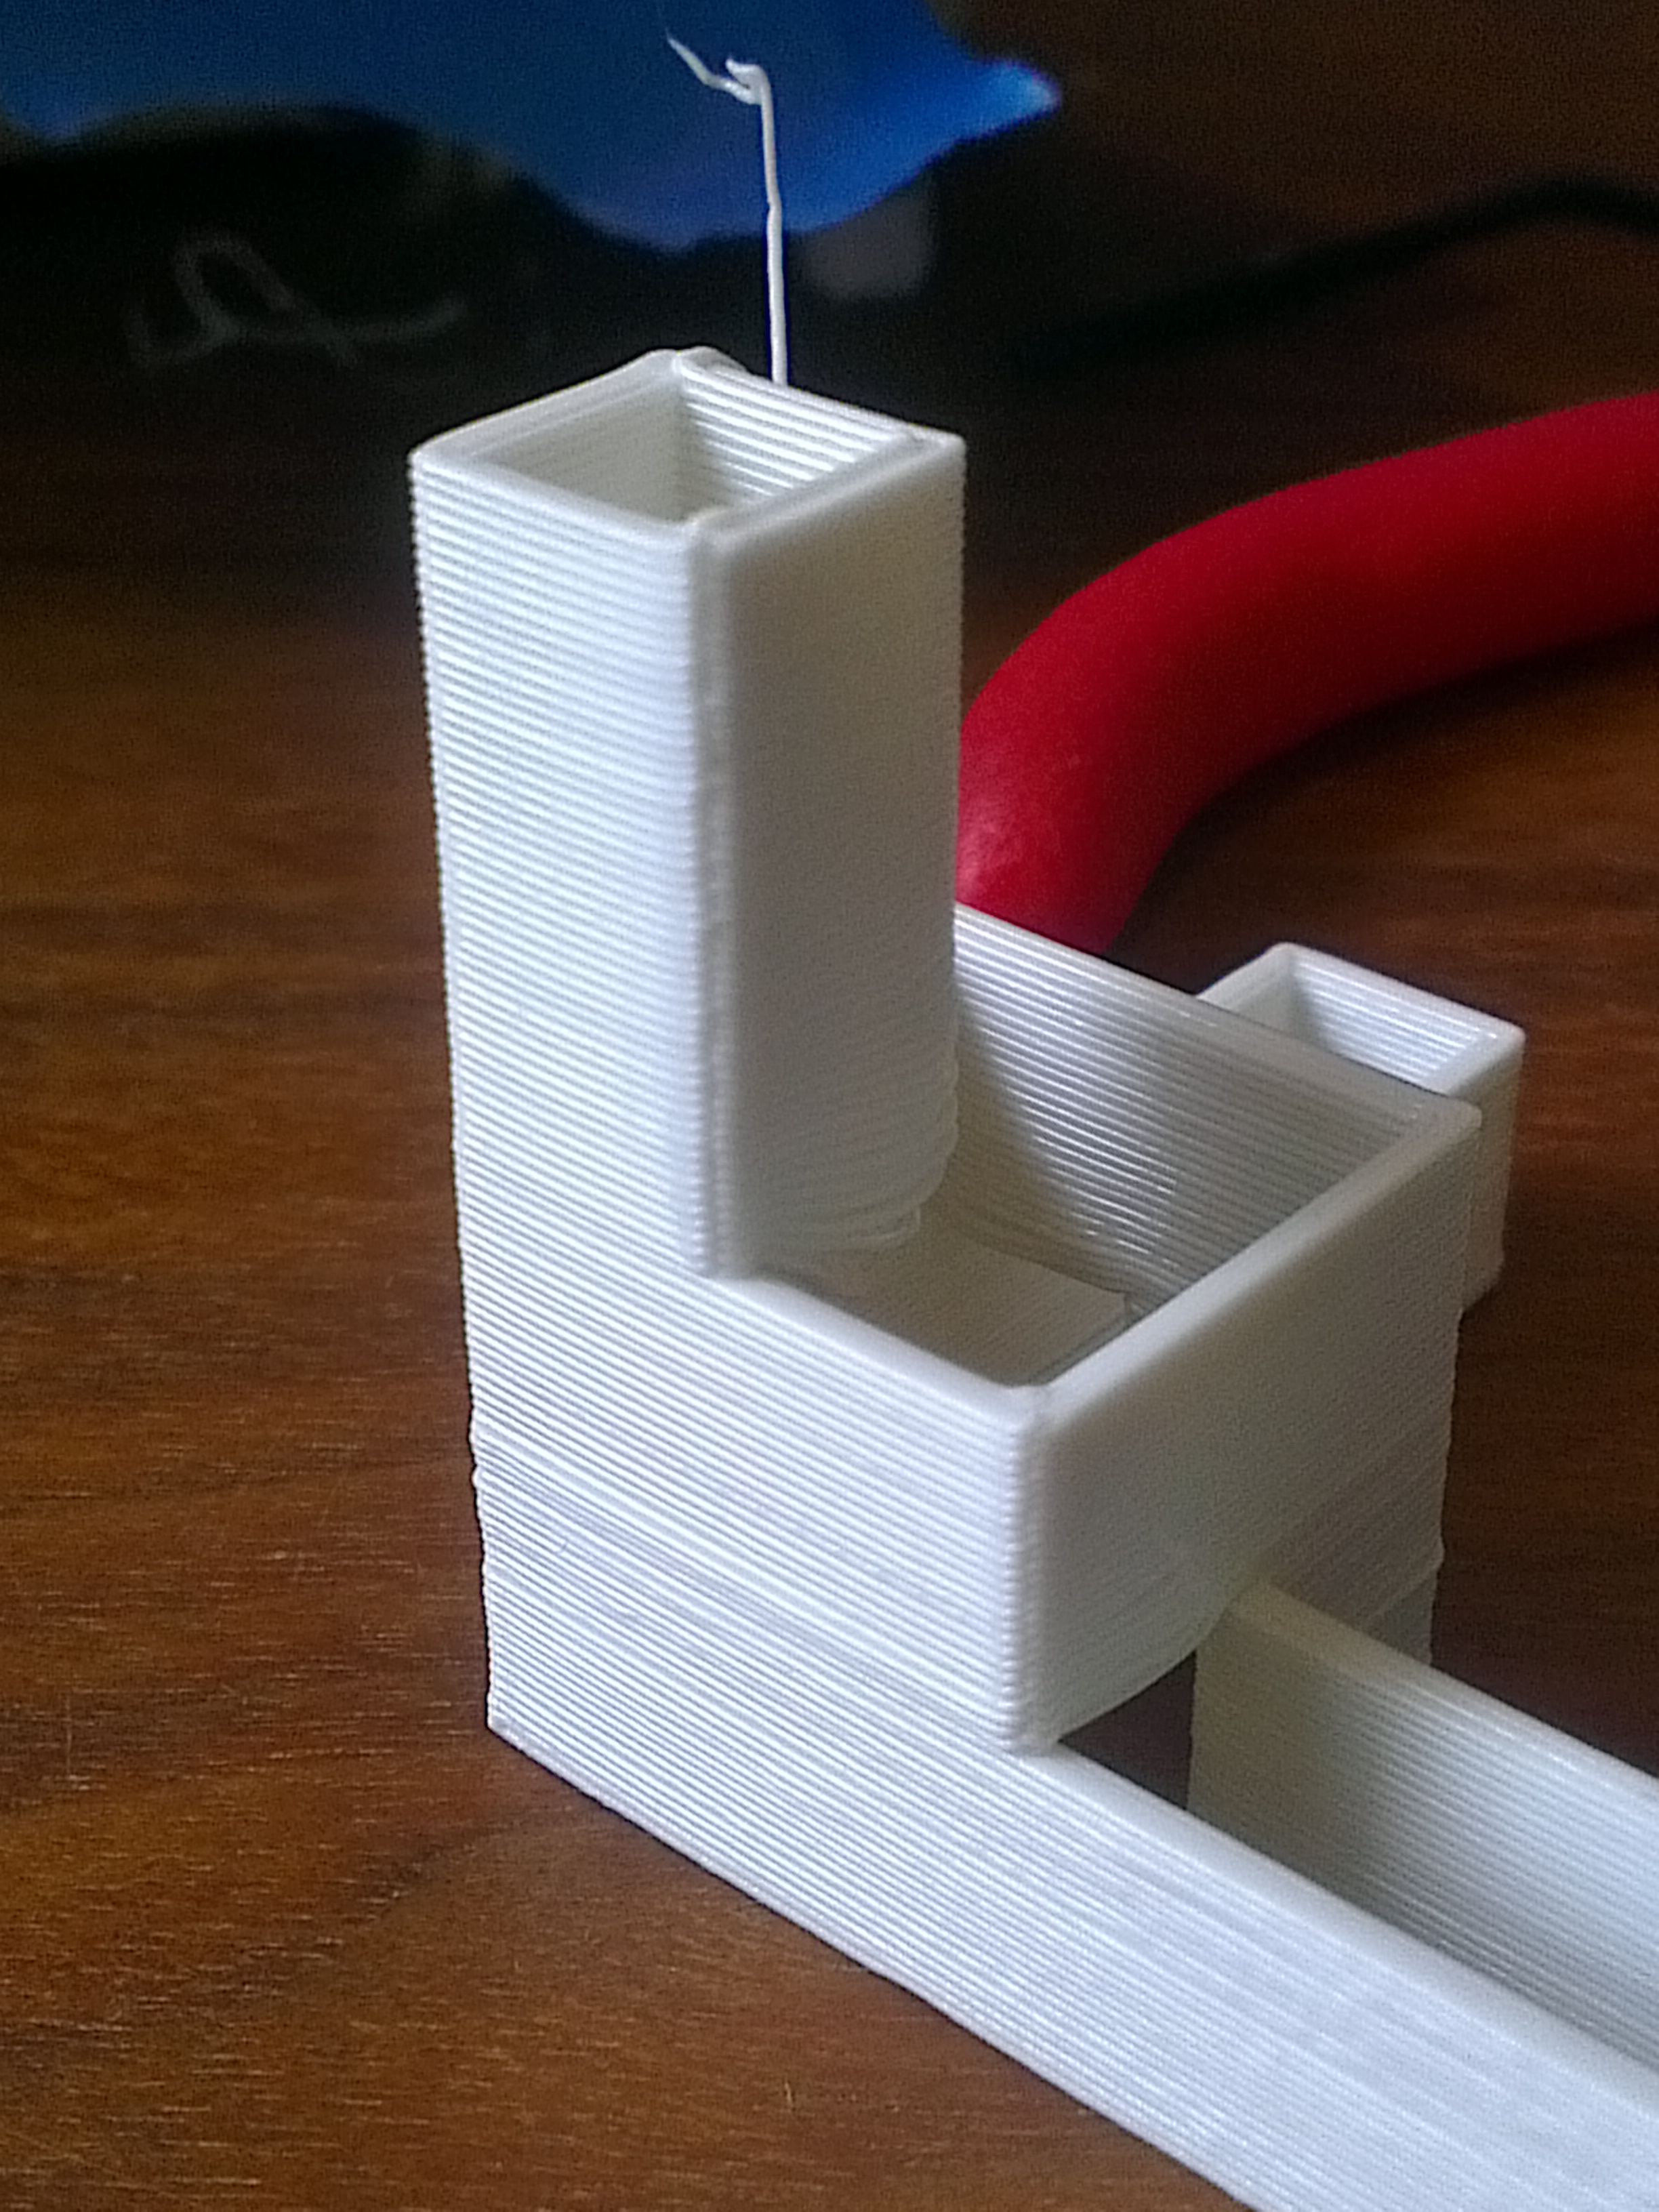
After doing all this, I could reliably produce recognizable prints:

If you look very carefully, though, you can see that even though the cylinder is quite vertical, the smiley face has some severe slanting going on:
This was a problem that took me a long time to solve; some prints look fine:
But most came out terribly:
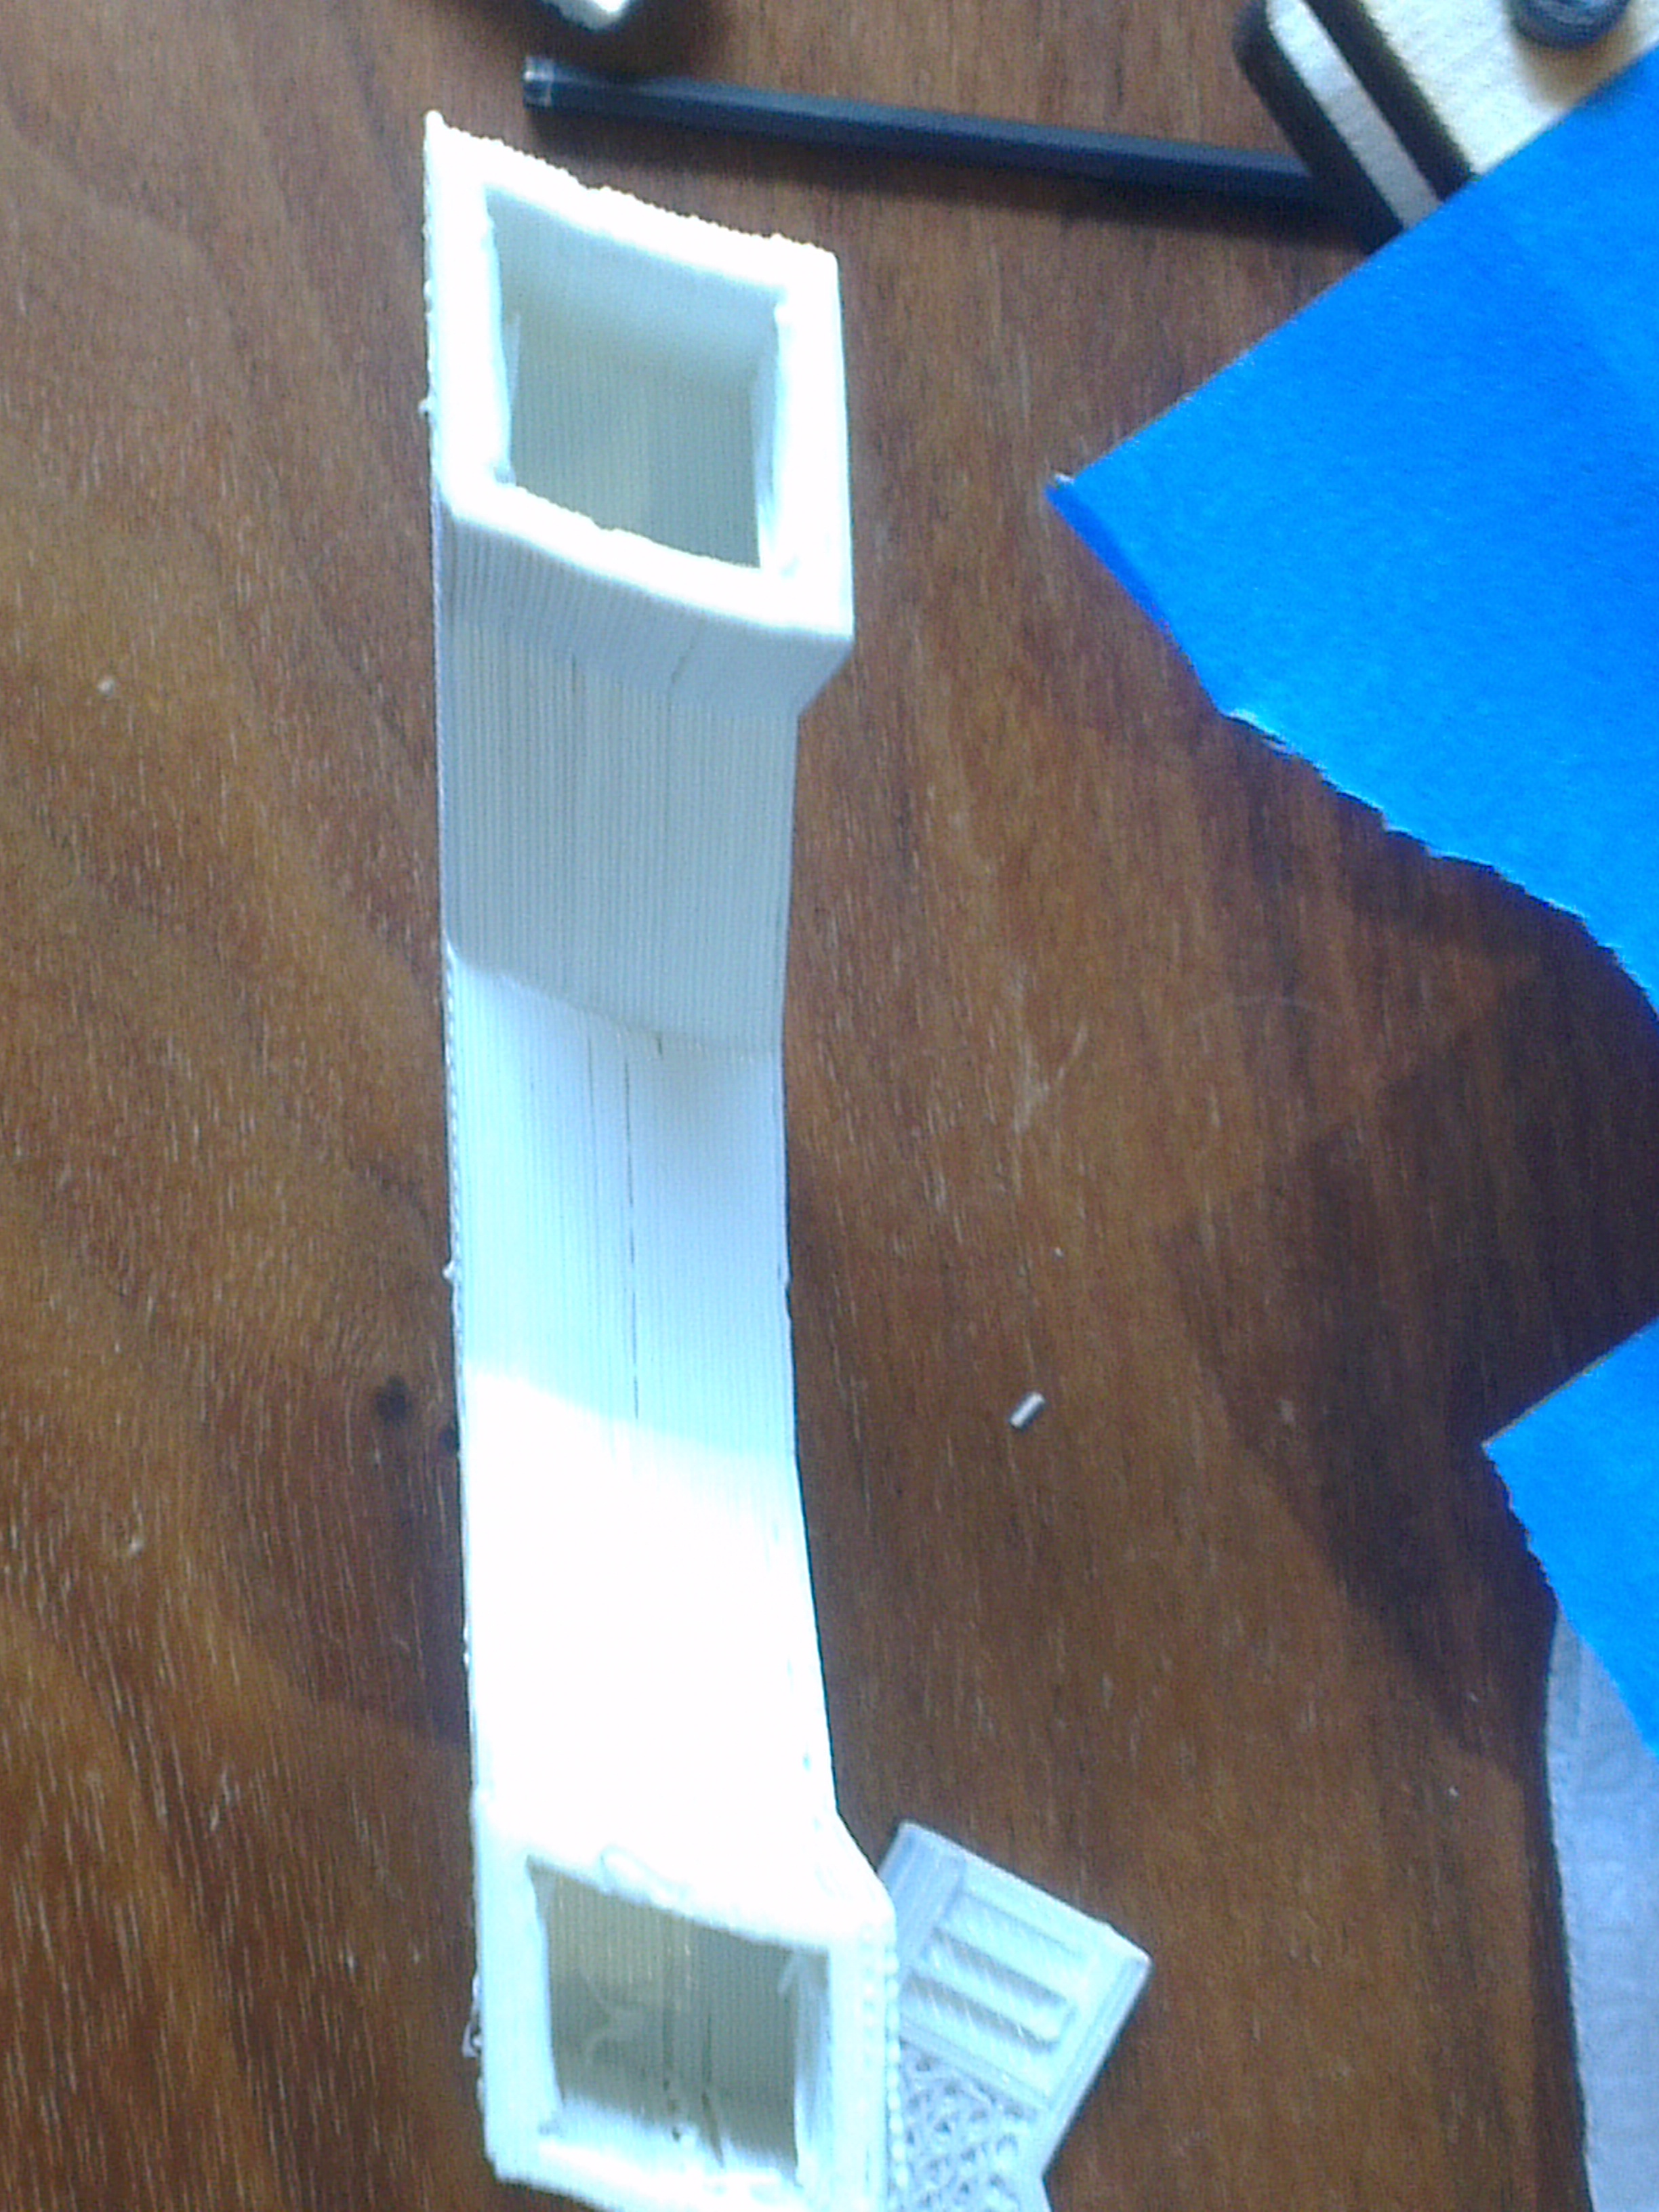
It took me three full days of trying every single suggestion the internet had to offer; I tried tightening and loosing everything, I changed the firmware values and eventually started recompiling the firmware myself, I learned gcode so I could send manually-constructed test patterns to narrow down the issue, and many more things that I don’t remember. One of the most informative tests I ran, which I wish I had thought of earlier, was to flip the y-axis stepper motor cable (the y-axis is the one with all the slanting), and print everything in reverse. Once I saw that this produced prints slanted in the same direction, ie the slant didn’t flip as well, I concluded that the problem was mechanical and not electrical or in the firmware/software.
The thing that ended up fixing the issue was replacing the nylon string that was provided with some fishing line I was able to scrounge up (the instructions actually call for fishing line but I was shipped the string [Update: apparently there is something called “braided fishing line” which I didn’t know about; I switched to the more-familiar “monofilament” fishing line]). I’m not 100% sure exactly what was happening, but I assume that there was some sort of slipping occurring and the finishing line simply didn’t incur that. It was a pretty simple fix, but came just as I was about to give up after investing 40+ hours in fixing the issue; on the bright side, at the end I had a very good understanding of how my printer works, and how 3d printing works in general.
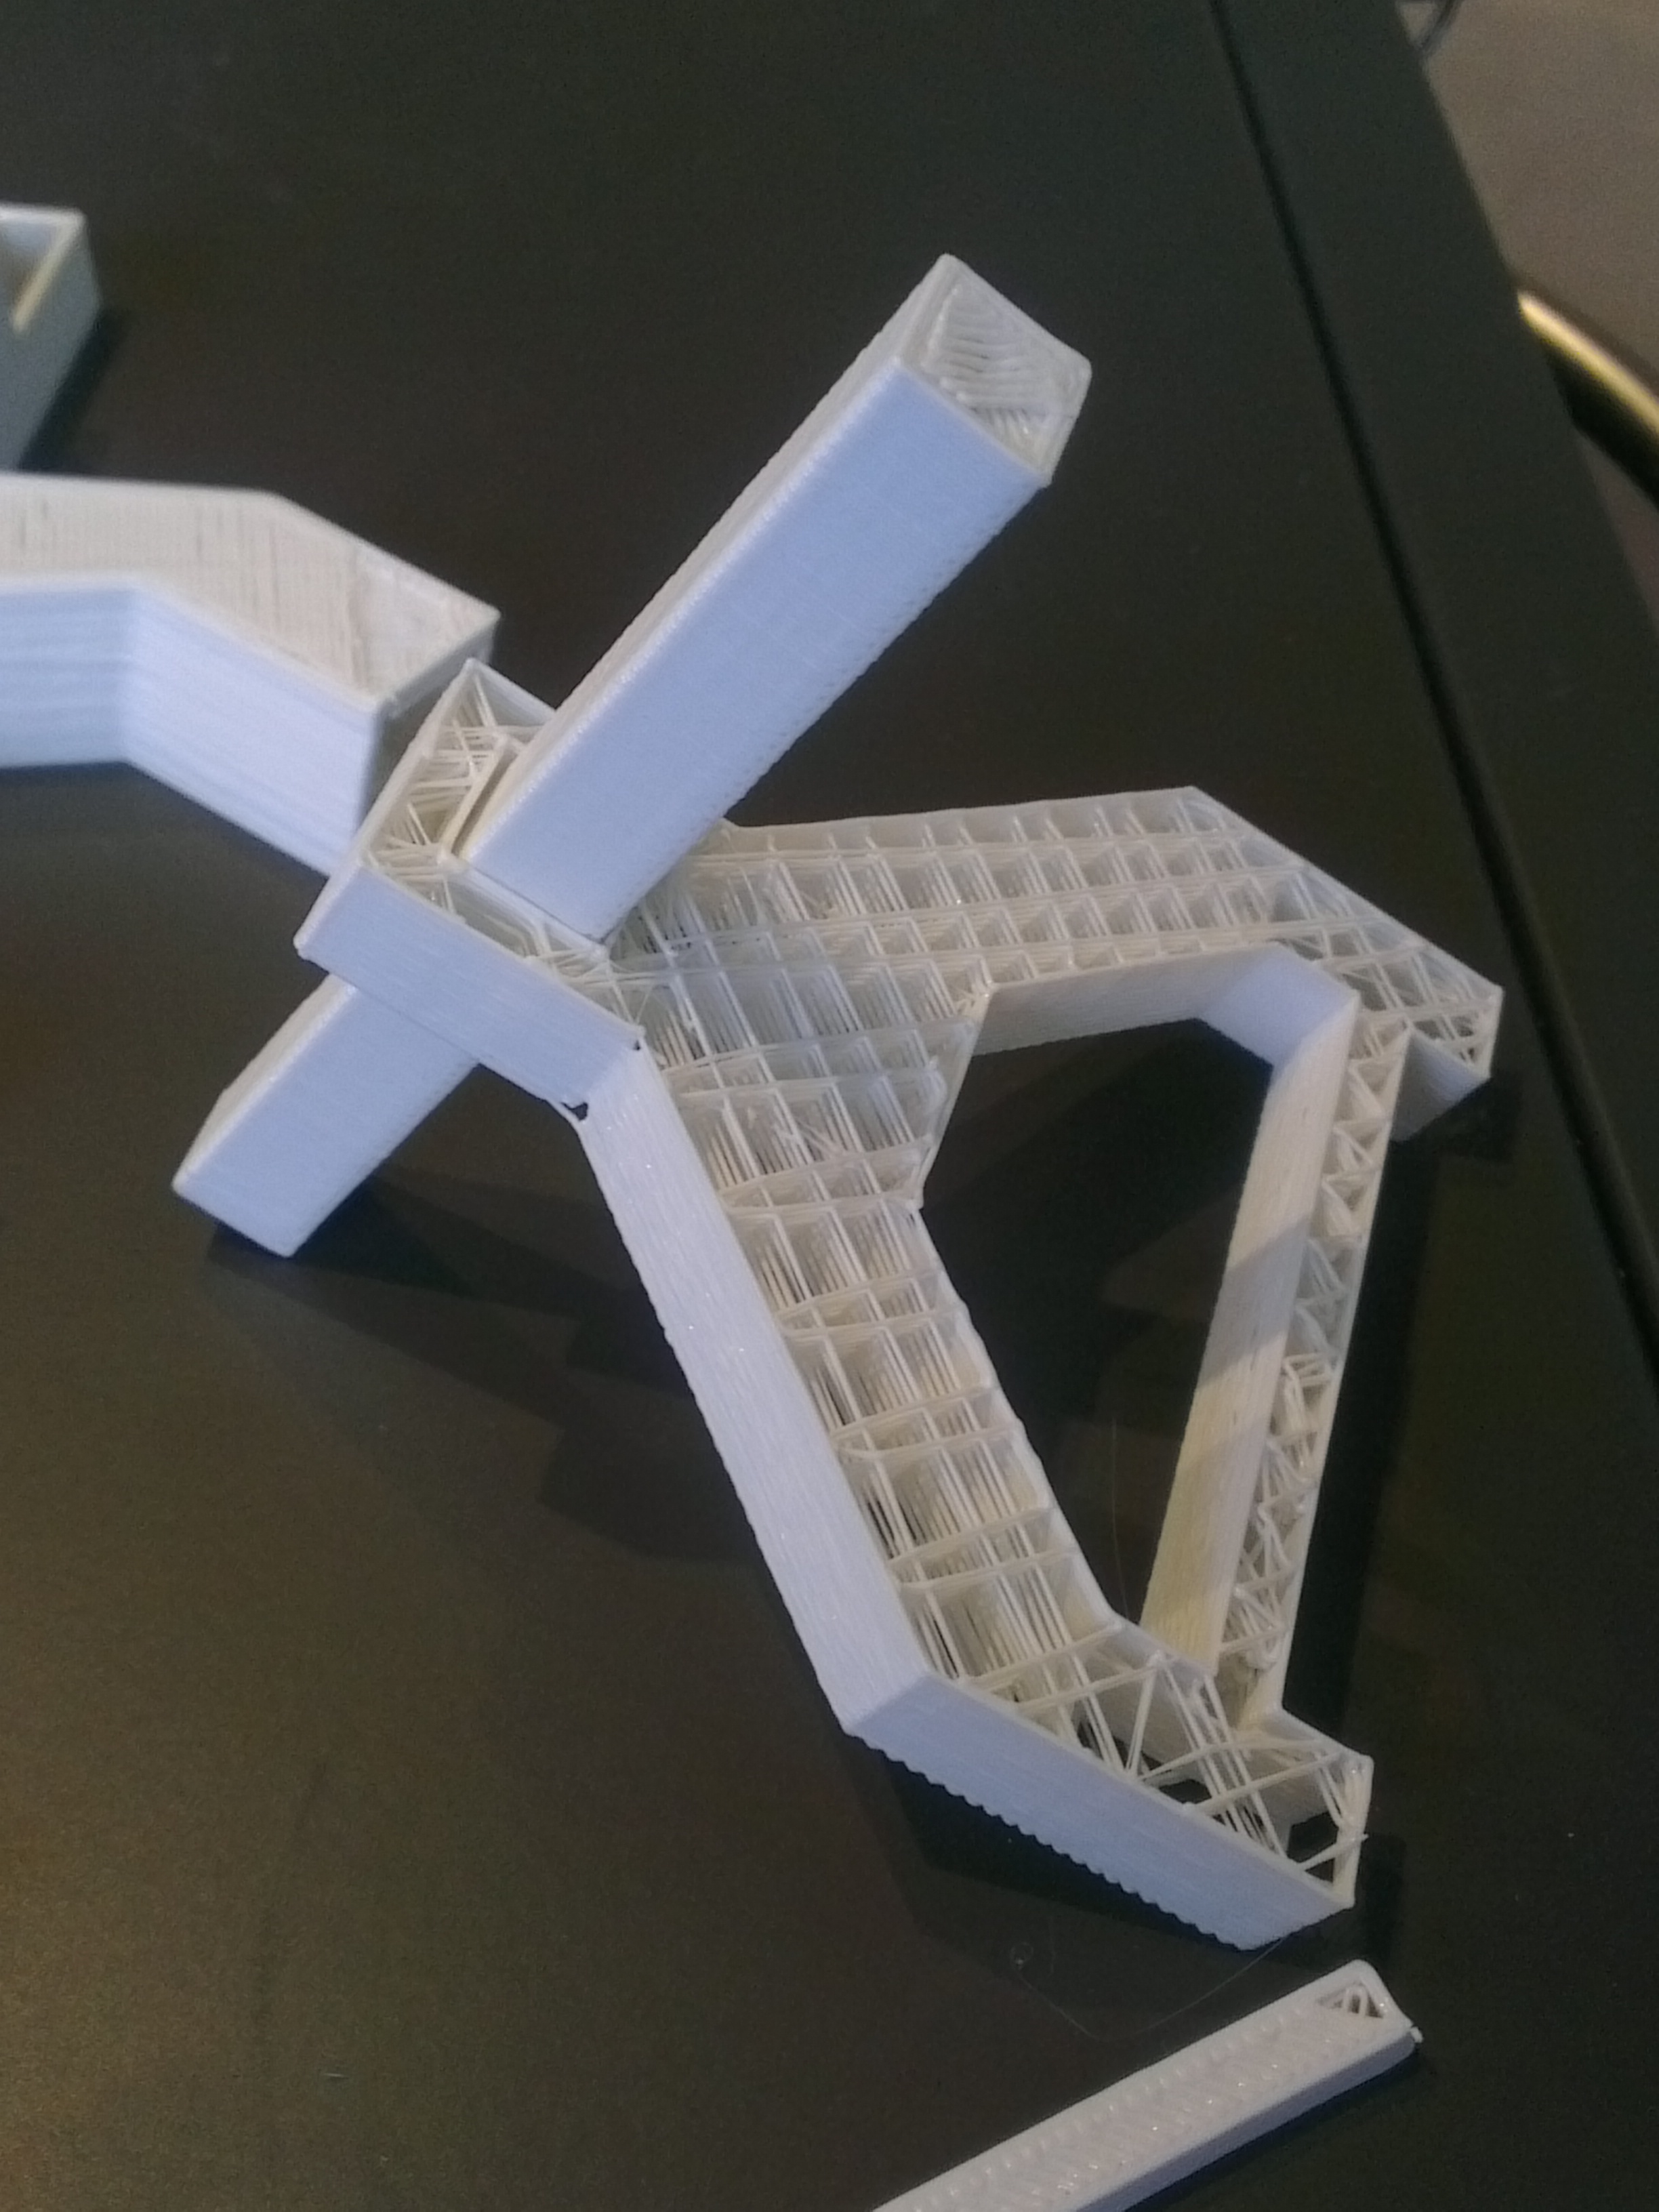
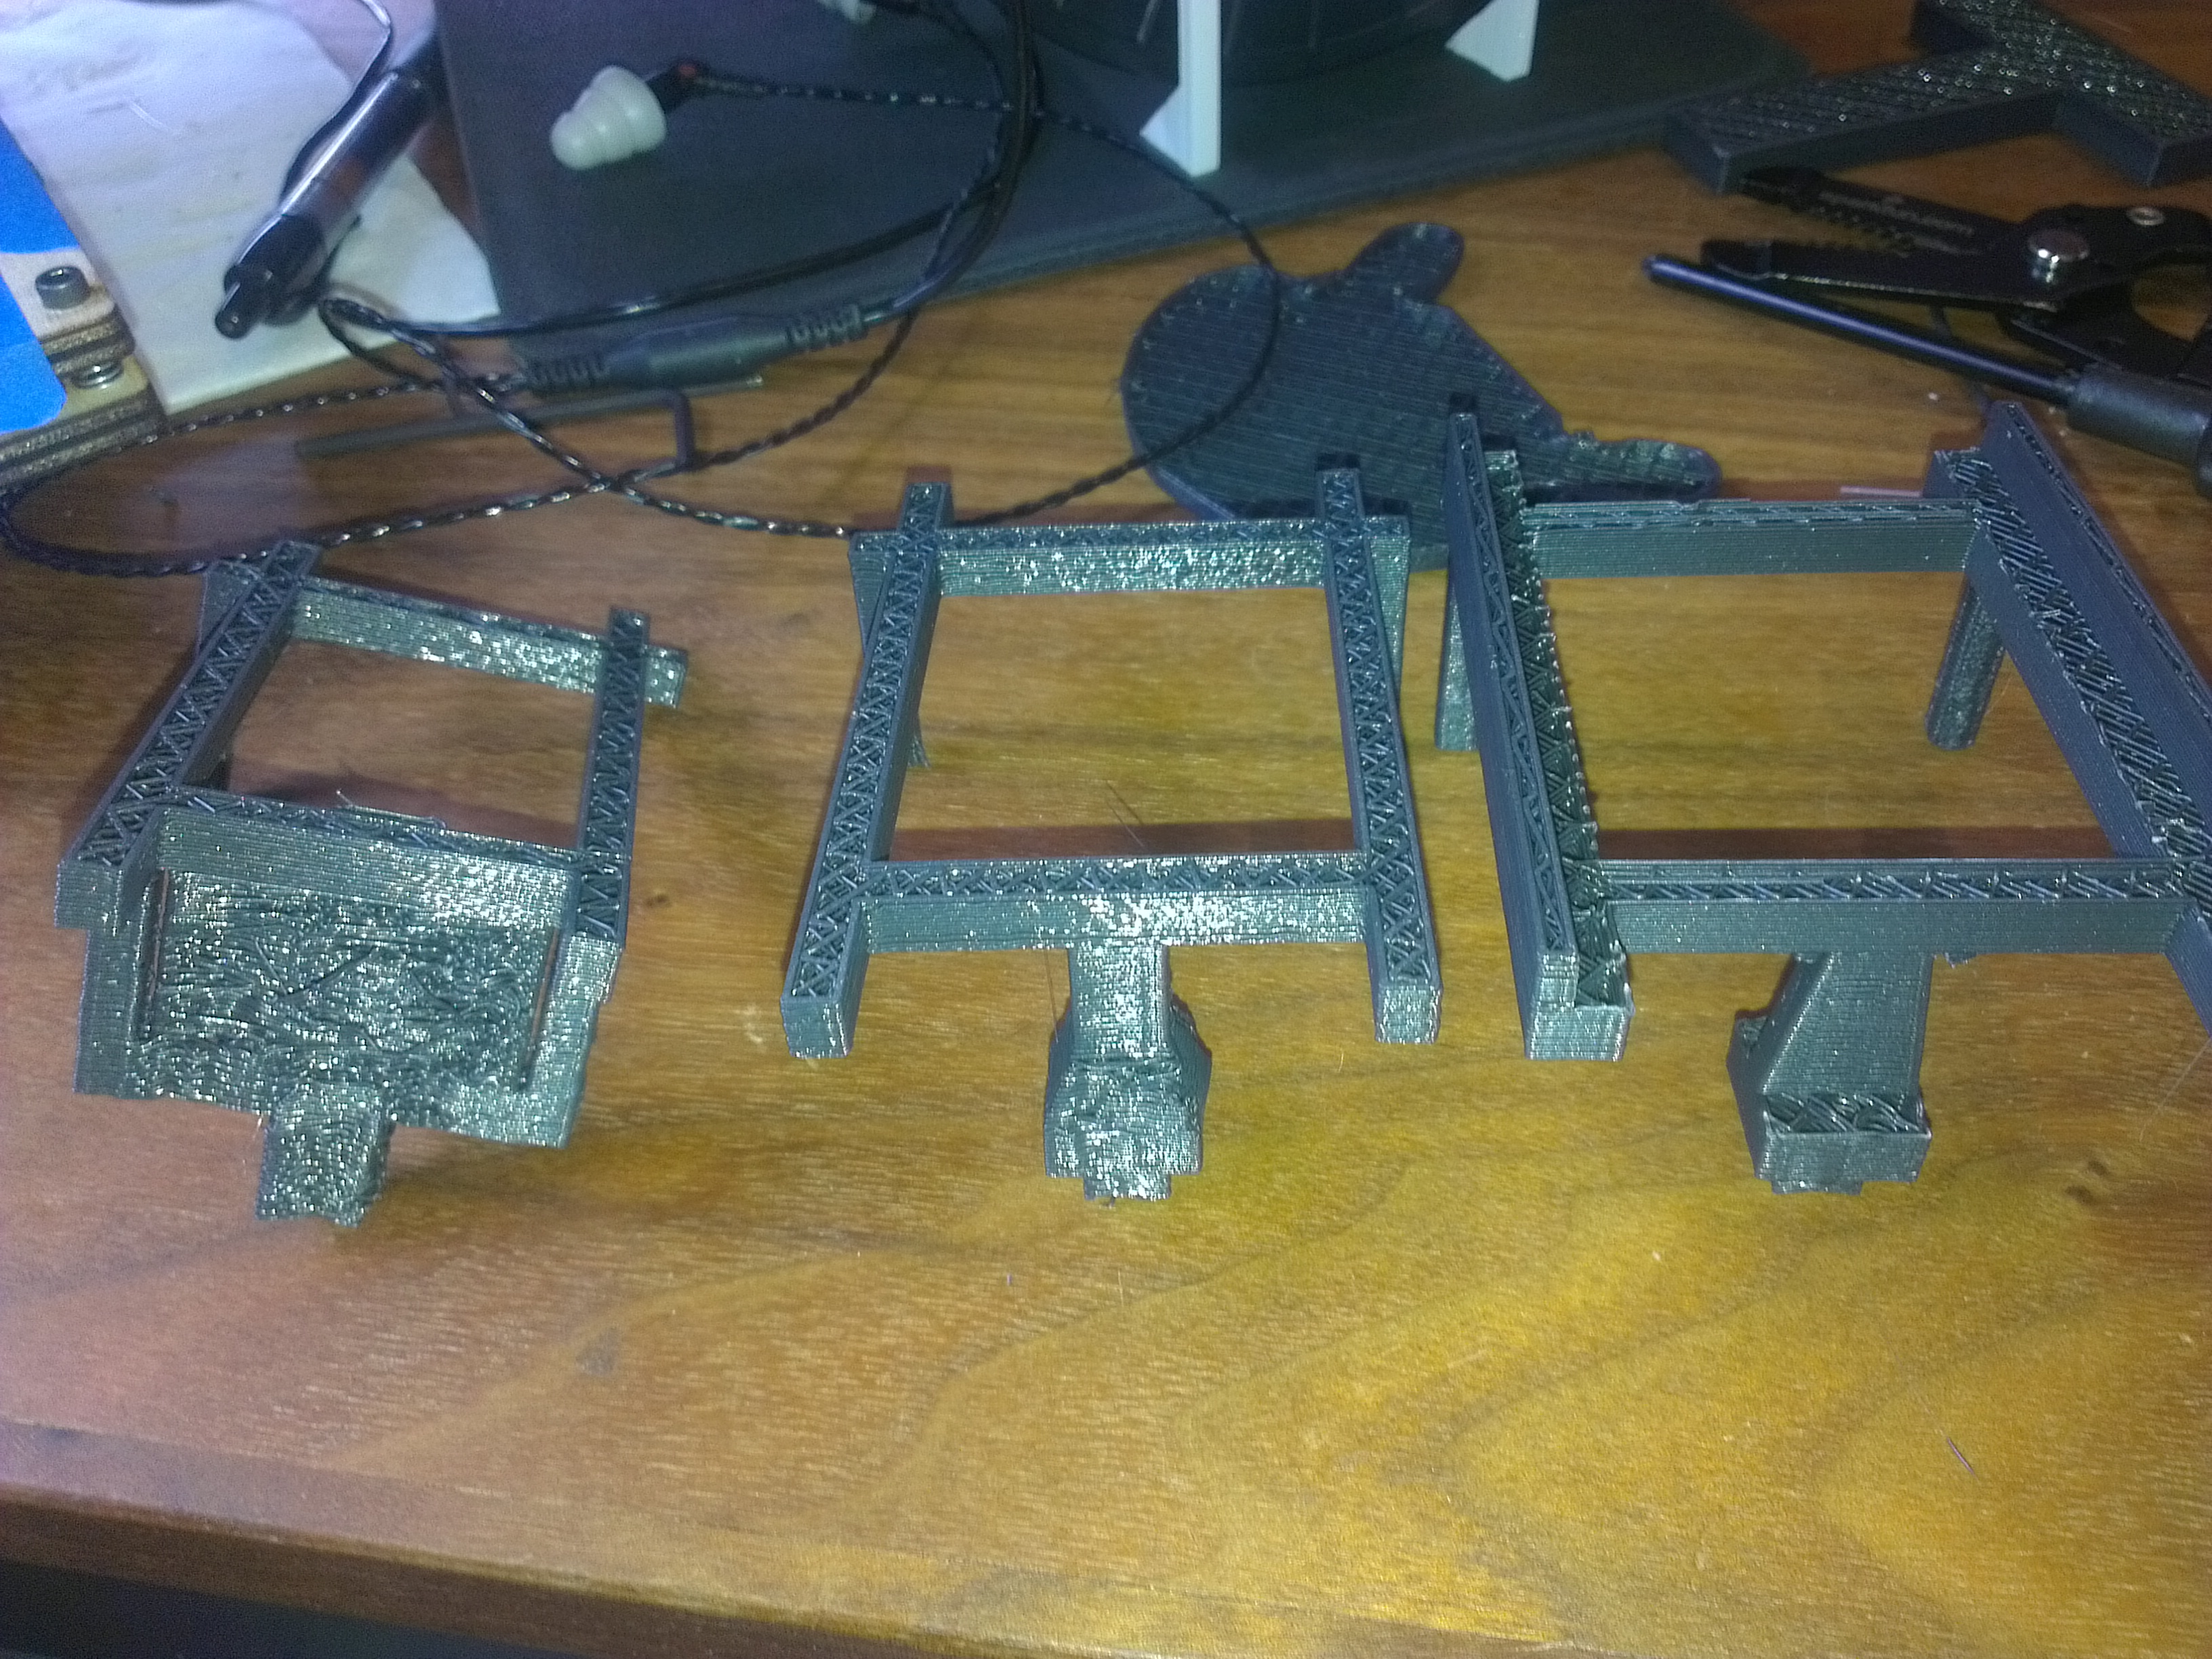
There’s still a lot more I can do to calibrate the printer, but at this point I’m quite happy with the results; they’re actually better than I was expecting from such a low-cost printer. Here are some pictures from things I’ve printed; most of them were on pretty low quality settings and without solid layers:
Overall, I’m very happy with the Printrbot Simple. I was worried that with a cheap printer I’d get sub-par print results, but in my experience the main limiting factor is that the printbed size is relatively small (100mm cubed, or about 4″ on a side). I was worried that a cheap printer would be nearly unusable and that you really do need to spend $1k+ and get a “nice” one, but I think my experience is a evidence that 3D printing really is accessible to people who’ve never done it before, and even at low-cost if you’re willing to invest time. My personal take is that 3d printing is in enough of its infancy that I think you need to be willing to invest a significant amount of time regardless of how fancy the printer is you buy, which partially negates the biggest selling point of the more expensive printers. For example, you have to have a good understanding of how the printing process works in order to know what kinds of structures you can build and what the limitations will be, or how and when you can reduce the quality (and thus increase the speed).
Where to go from here
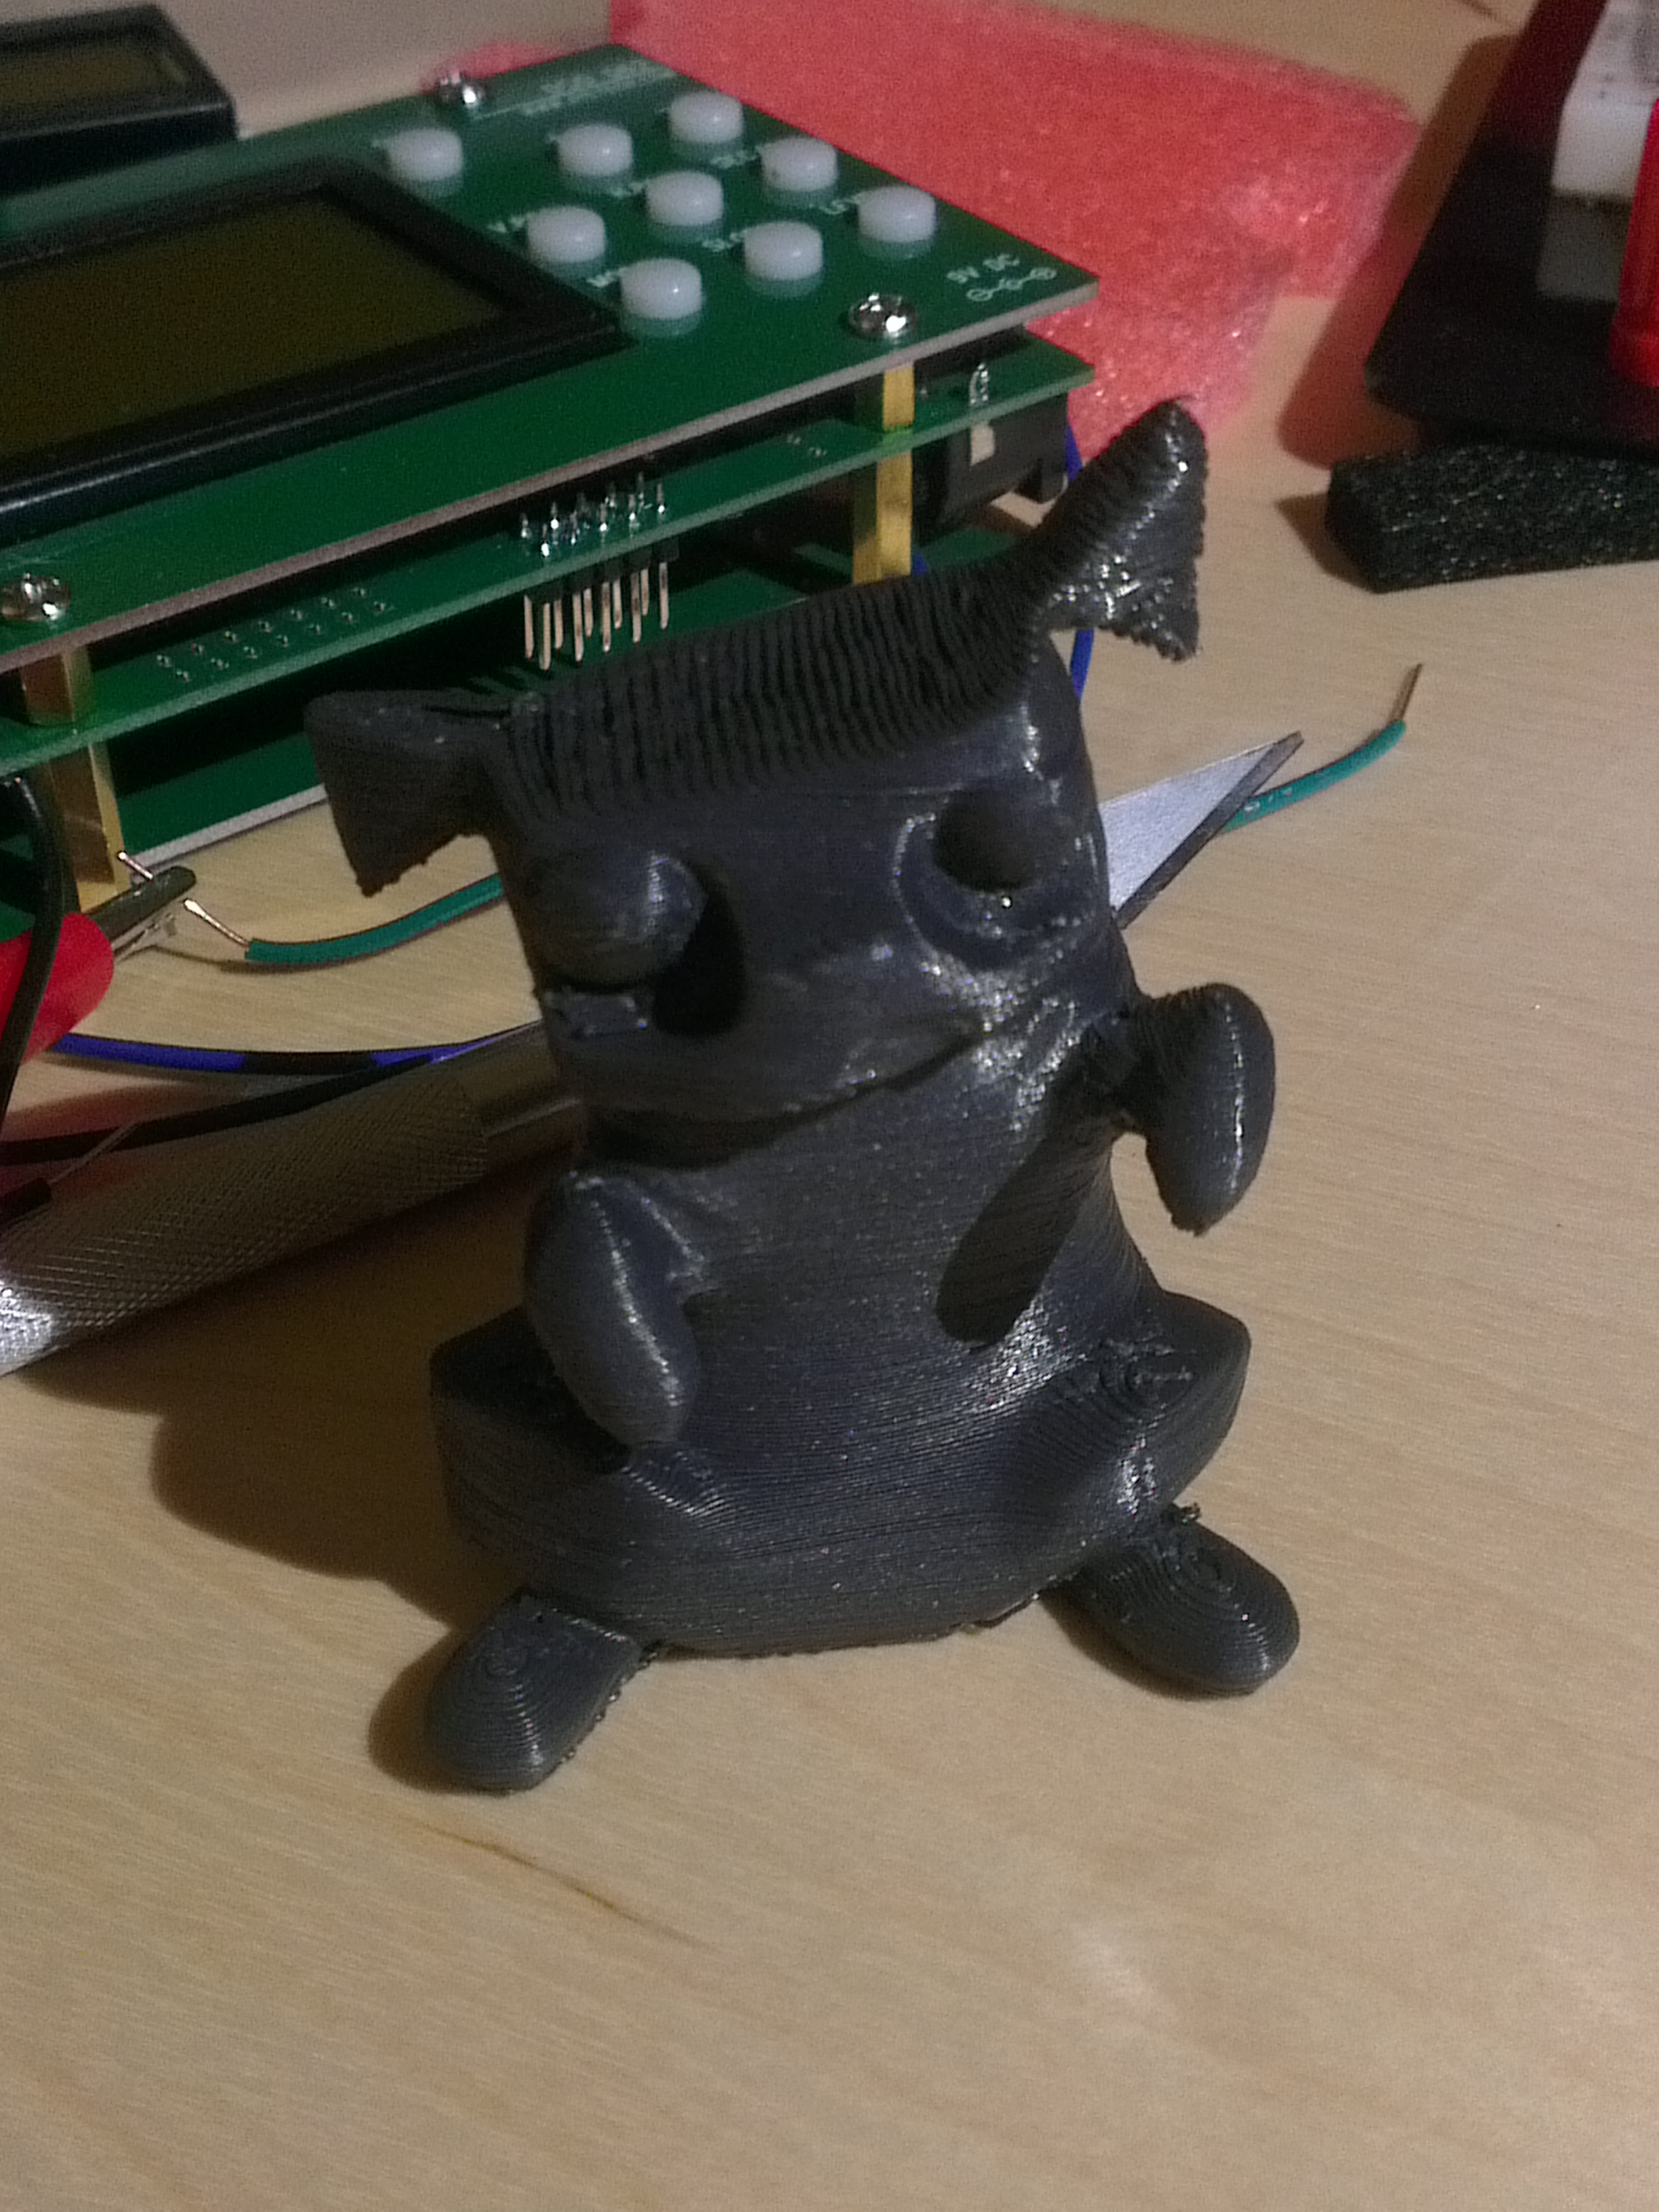
One of my primary interests in buying the printer was to build functional and/or structural parts; it’s been cool to print out sculptures that I’ve found online (see the pug figurine above), but I don’t see that as being much more than a novelty since I won’t be designing them myself. In general, I’m intrigued by the idea of being able to produce physical parts; I know this is possible using more conventional methods, but I never got into woodworking or machining, so this is another whole new world that’s been opened for me.
In the third photo above, you can see some structural pieces, which are part of the robot chassis that I’ll talk about in a future blog post 🙂
